
Paper Art Tutorial with FREE Cricut-Ready SVG
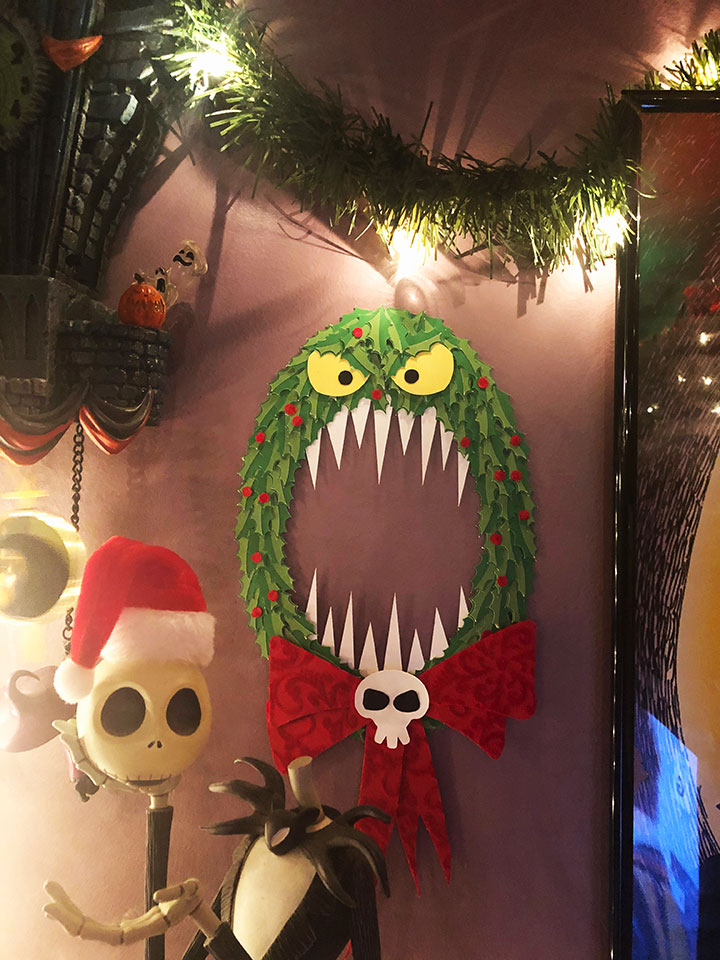
I’ve wanted a Nightmare Before Christmas wreath monster for a while. My original plan was to make one out of an actual wreath but then I got a Cricut! This was actually one of my original ideas for a project to do with my “new” tool, though it took me over a year to finally make one.
Now that Christmas has rolled around again, and it’s Nightmare Before Christmas week on the blog, it’s about time I followed through with my plan! As a bonus, it fits so well in our Nightmare Before Christmas corner.
This is sized to 7″ x 16″ but you could easily make it bigger you would just have to increase the size and cut the base oval larger than mat.
Nightmare Before Christmas Wreath Supplies
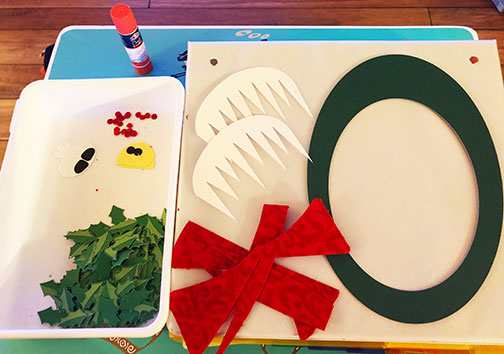
First thing’s first! The nice thing about this project is that it doesn’t need a lot of stuff to make. You can use scraps for some of it, like the black spots and the yellow eyes. Here’s what you need:
- Dark Green Cardstock (1 sheet)
- Green Cardstock (2 sheets of 12×12 or 3 sheets of 8.5×11)
- Light Green Cardstock (1 sheet of 12×12 or 2 sheets of 8.5×11)
- Red Cardstock (1 sheet)
- Yellow Cardstock (1 sheet or scraps)
- Black Cardstock (1 sheet or scraps)
- Glue
- Cricut Explore Air 2 or Cricut Maker
- Nightmare Before Christmas Wreath FREE SVG
You will need to download my free Nightmare Before Christmas Wreath svg file from the library – all you need is the password! Don’t have the password yet? Join our Facebook Group Here or my email list!
Nightmare Before Christmas Wreath Instructions

Step 1: Cut
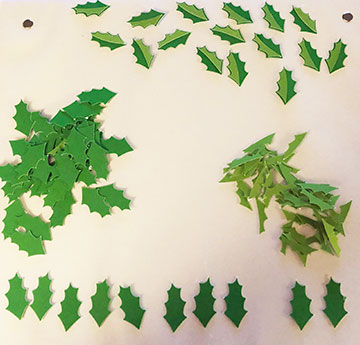
After you’ve downloaded my free svg use your Circut to cut all the pieces. Cut the ovals out of dark green, this will be your base. The large leaves should be cut in a medium green and the leaf highlights in a light green. You will need a red for the bow and the berries, I used a cute velvet textured paper. The teeth and the skull will be cut from the same piece of white paper. Finally you will need yellow for the eyes and black for the skeleton eye sockets and irises – this is a great use of scraps if you have some!
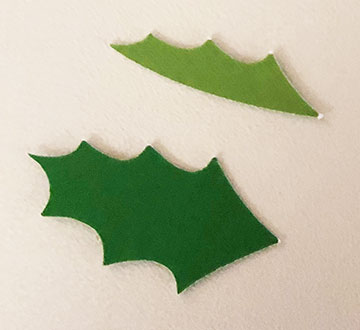
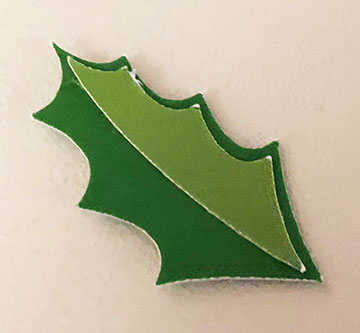
Step 2: Assemble the leaves
This is the most tedious part. If you want to save time, you could skip cutting the highlighted leaves and this part of assembly. Should you choose to do so I would suggest cutting the leaves in a couple different green colors to give the wreath more texture. That said, I personally think the leaves look super cool with the highlights and it’s worth the effort!
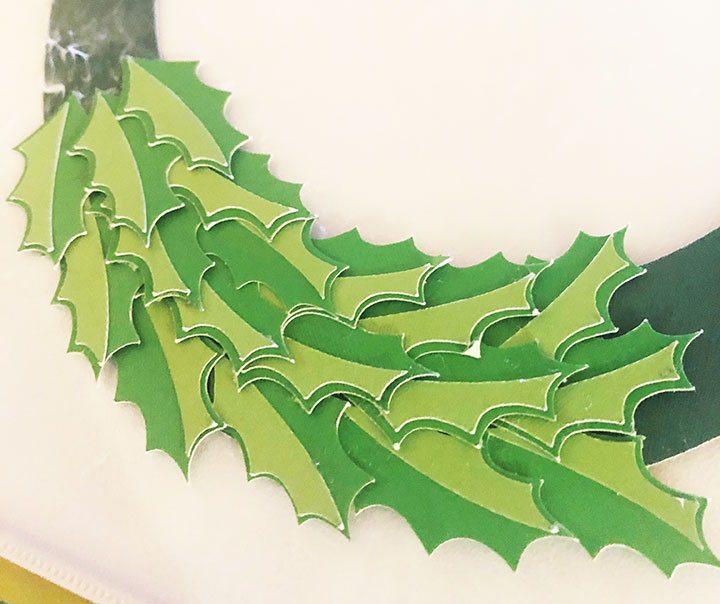
Step 3: Attach leaves to the base
I suggest starting at the bottom in the middle and working your way up one side at a time. There will be some over-lap on the bottom, but that will be covered up by the bow, so don’t worry about making it perfect. Each layer on the sides is 3 leaves wide. When you get to the top make a layer across the bottom and work your way up from there. Don’t be too uniform, it should look shaggy.

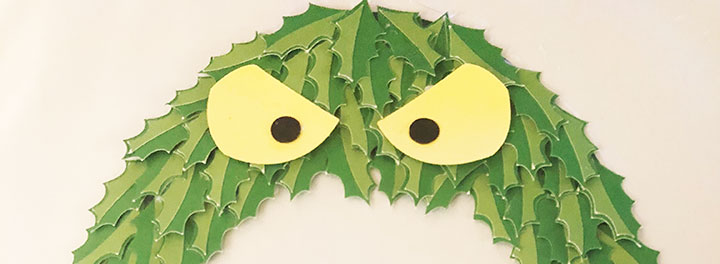
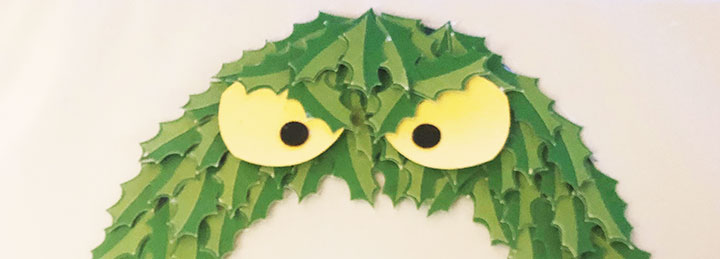
Step 4: Assemble and attach the eyes
Glue the black irises to the yellow eyes and attach to the top of the wreath. Then take some of the remaining leaves and place over the top of the eyes so they look like they are part of the wreath. It also makes him look more menacing, don’t you think?
Step 4: Add the berries
This is the easy part! Just add some berries around the wreath.

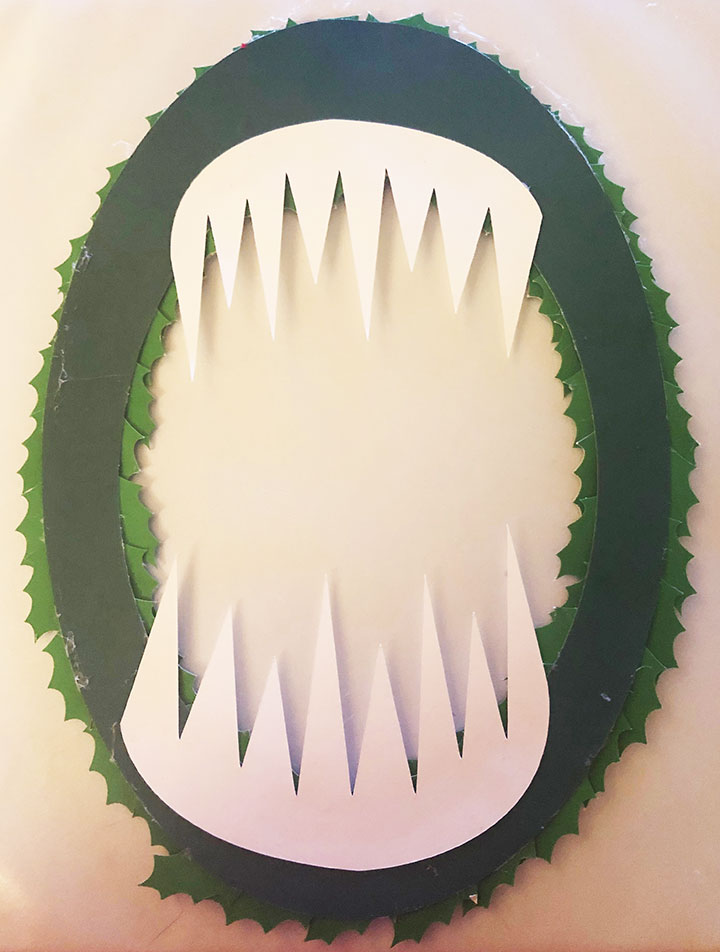
Step 5: Attach the teeth
Let the wreath dry a little so the leaves don’t fall off and then turn it over to attach the teeth. Glue them to the back.
Step 6: Assemble the bow
Glue the two bow parts together and then add the tales to the back. Turn over and glue down the skull and add the eye sockets. It’s it cute? I might just make some more of these to add to garland!

Step 7: Attach the bow to the wreath
The final step! Simply glue the bow to the bottom of the wreath and you’re done!

So fun right?
I LOVE how this turned out! It looks so good with my other Nightmare AND Christmas decorations. Are you a fan of Nightmare Before Christmas? Check out my Nightmare Before Christmas Magic Band DIY and Series of Drawings. Or even check out this awesome Nightmare Clock – I have one too!
Note: This post contains affiliate links. If you purchase something from on of my links I will get a small commission but it costs you nothing extra.